Today is week 4 of Filofax College!
Let’s call register!
Say Here if you are in today!
In our lesson toady we are going to be learning a lesson that is very useful and potentially could save you lots of money!
And what is that lesson I hear you ask, well it is How to make your own Dividers!
It’s the simplest thing you can make! Its literally as simple as going around the block for a walk!
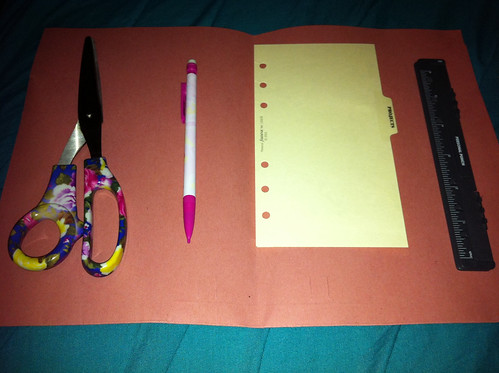
So first things first, for this you need the following: -
- Scissors – Flowery is not as important
- Pencil or Pen
- Divider you want to make, i.e. Personal, A5, Pocket, A4, Mini etc
- Hole Punch of the required size (preferably the metal hole punch, as the plastic one struggles a bit)
- Sheet of Cardboard, not too thick, can have any pattern or be plain up to you!
If you do not have a divider to trace the dimensions are the same size as a piece of paper in the Filofax but just with a little tab off it, you can have the tab in literally ANY position you like and any shape you like! I have just done the basics for you to help you along your way!
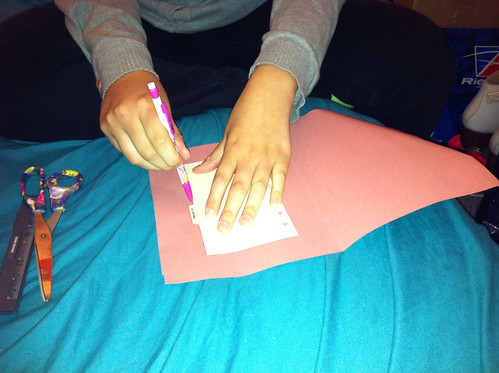
STEP 1
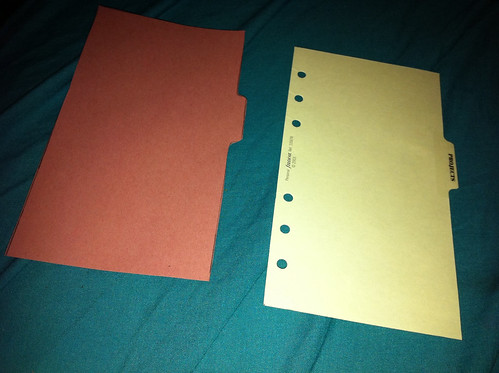
Draw around the divider (or sheet of Filofax paper if you do not have a divider) using the pencil of pen mentioned at the beginning, it makes more sence to do it on the edge of the card then you have one less line to cut!
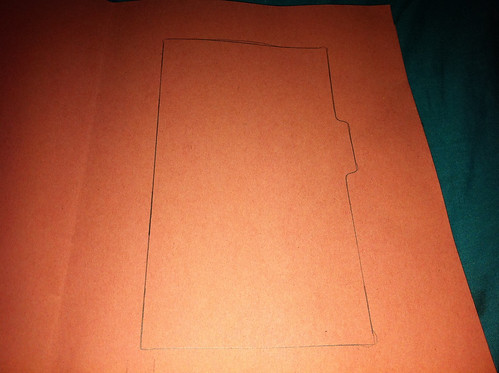
Once you have done that it should look like this!
Very simple I know, but still a useful lesson!
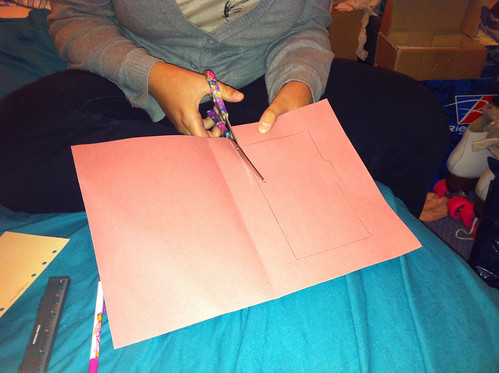
STEP 2
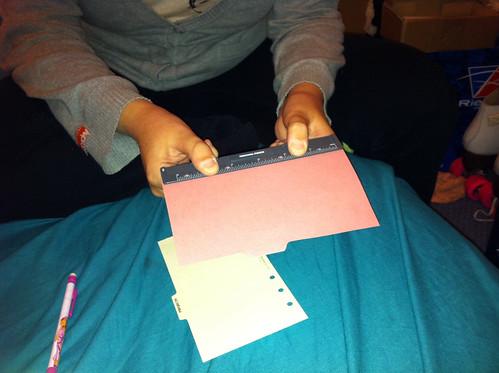
Using the scissors, (if you are small or a child maybe have an adults supervision with this part! We do not want students with one finger missing from a mistake cutting a divider!) cut around the line you made, try to be as straight as possible, if you have a guillotine handy use that will be perfect then!
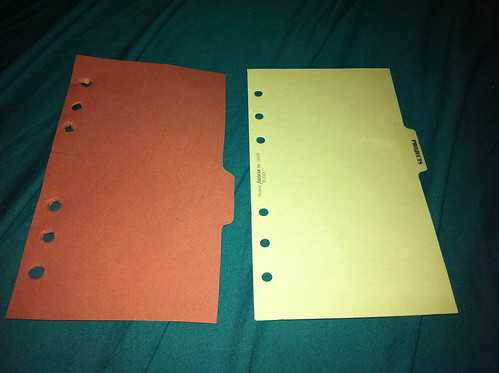
Once you have cut it out it should look exactly like (unless you have decided to put the tab somewhere else) the one you started with, your guide divider!
STEP 3
Hole Punch the card divider, I found that my hole punch would not go through it easily so I decided not to use it as I didn’t want to break another! (I tried to hole punch some glossy cardboard and it blunt the blades :’-( ) you can do it with the plastic one you just need to put some pressure on it. My handy tip for cutting through tough paper and card with the plastic hole punch is STAND ON IT!!! It really helps!
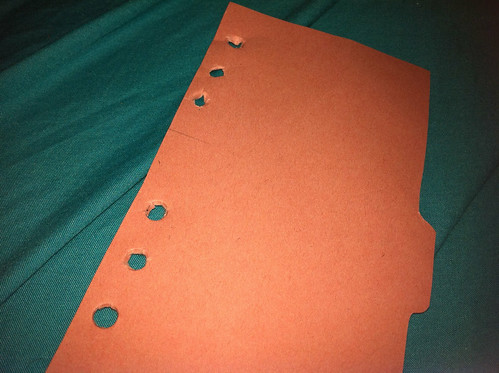
And once you have hole punched it yours will look a lot better than mine: -
(I was too scared to use my hole punch so marked out the holes then I used a pencil to make the holes and scissors to cut away the excess, which is an easy way to do it if you don’t have a hole punch, use the rings inside the Filofax to make out where the holes should go!)
Then you are done!
So that was your lesson for this week! SHORT AND SWEET!!! Do not forget to enter the competition!
So as the lesson was to make your own dividers, then I would like to see these dividers you make, so once you have made them, take a photo and add them to the Flickr Group!
The prettier the better!!!!
Good luck with your Homework and see you again next week, if you have any questions or need any help just leave it in the comments below!!
Much Love <3 xxx
Just so no one misses Steve's Comment, or just doesnt read the comments he has a very handy link: -
I would suggest buying a metal hole punch for things like this.
I would recommend this one:
http://philofaxy.blogspot.com/2009/08/rapesco-diary-punch-66-p.html
It does Personal, Pocket and Mini Filofax sizes. And only slightly more expensive than the Filofax plastic ones...

I would suggest buying a metal hole punch for things like this.
ReplyDeleteI would recommend this one:
http://philofaxy.blogspot.com/2009/08/rapesco-diary-punch-66-p.html
It does Personal, Pocket and Mini Filofax sizes. And only slightly more expensive than the Filofax plastic ones...
Here!
ReplyDeleteI'll post my divider photos :o) x
Tali - Hehehehehehehehehehehehehehe :-)
ReplyDeleteSteve - Thank you :-) You are as usual a fountain of knowledge :-)
completely off-topic for your post, but I got my MOO Cards in the mail today. I ordered the mini ones with a black case. Soooo cute!! Thanks for the pointer to them.
ReplyDeleteTerrikits - you should of said you were going to order some i could of given you a 10% off code :-) Xxx
ReplyDeleteHere! Just made divider decorations for my dd's pocket and personal size planners.
ReplyDeleteFurther to Steve's helpful comment, I have been able to use the Rapesco on an A5 FF using his instructions on Philofaxy - works a treat! http://philofaxy.blogspot.com/search/label/Punch
ReplyDeleteHere!
ReplyDeleteThanks for the post :) Just need to find some pretty card now. I already have a Rapesco hole punch, which is great & would definitely recommend them.
Hello Professor Imy!
ReplyDeleteI've just made my own dividers out of postcards! I know it wasn't the same as the way you did it but I like them all the same! http://thelifeoftheperpetualstudent.blogspot.com/2011/08/my-new-diy-dividers.html
One silly question for you hubby maybe. How did he cut the wood straight for all the pieces. Plastic Divider
ReplyDelete